Day 32: Brewing Part I—Beer
Dear Student,
Today begins our chapter on making your own comestibles. Over the next 13 lessons, I’ll explain how to make just about anything you eat or drink yourself. And I thought we might start with the fun stuff—alcohol!
Brewing is an ancient skill… And whether it’s beer or wine, I think most of us are familiar with and enjoy the benefits of the glorious results of brewing.
 Humans have been making a form of beer for up to 13,700 years for ritual purposes—earlier than ever previously thought, according to the most recent findings—with brewing perhaps predating agriculture itself (though it was likely closer to a gruel or porridge originally than a frothy, golden liquid).
The basic process of brewing is the anaerobic fermentation of sugars by yeasts, which produces a mildly alcoholic beverage. The fermentation of malted barley and hops leads to the production of beer. The process is quite similar to wine brewing.
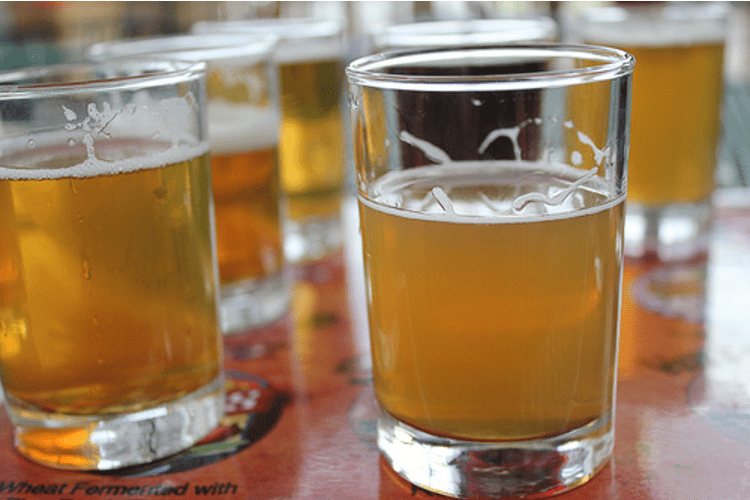
Beer Production
Brewing can be a fun hobby… especially for those who enjoy this refreshing beverage from time to time. With a little practice you can produce your own alcohol for personal use, parties and other social occasions, or for sale—all for just a few cents per bottle.
Malt—germinated cereal grains that have been dried in a process known as “malting”—is used to provide the sugar for fermentation. The grains are made to germinate by soaking in water and are then halted from germinating further by drying with hot air. Malting grains develop the enzymes required for modifying the grain’s starches into sugars.
Home Brewing
Equipment Needed:
 Mash pot—Clean pot or saucepan that can hold 5+ gallons of water)
- Fermenter or brew vessel—Any size will do, but it needs to be sealable. Glass or plastic containers are easiest to clean. 5-gallon water barrels work quite well for a beginner brewer, just make sure it isn’t scoured or scratched on the inside (use new containers). Specially fabricated plastic brewing containers are available inexpensively from your home hobby store or online.
- Bottling container—Secondary brewing vessel also of 5 gallons. This is to hold your brew pre-carbonation.
- Airlock and bung (cork with hole in it to seal the top of the brewing vessel)—You can make these yourself, but plastic airlocks are available for less than a dollar from your home hobby store or online. Running a length of clear plastic tubing from the bung at the top of the vessel into a jar of water will do, too—make sure the tube stays under water for the entire fermentation period.
- Siphon—A clean, clear, 4-foot (or longer) tube to allow the brew to be decanted after brewing.
- Funnel—To fill the brewing vessel.
- Stirrer—Any long implement that will fit in the mouth of the brewing vessel will do.
- Straining bag or cloth—Muslin sack, cheese cloth, or old cotton pillow case will do.
- Bottles, bottle caps, and capping tool—To store your finished product. Any used wine, beer, or other bottles will do so long as they can be sealed, if you use corks consider buying a re-corker. Glass bottles are best.
- Cleaning materials (extremely important)—Disinfectant, bottle brushes, and any other tools available are necessary. Rinse very well after cleaning to remove any soaps or chlorine.
- Kitchen thermometer
- Rolling pin
Ingredients:
Produces 5 gallons.
- 6 lbs light dried malt extract
- Yeast: 1 package of brewer’s yeast, available from your hobby store or online (1 packet is usually enough for 5 gallons or more)
- 8 oz crystal malt, crushed with a rolling pin (optional)
- 1 oz pellet hops
- 3/8 cup sugar for bottling
- 15 liters of water (3.5 gallons)
- 1 cup simple syrup (3/8 cup sugar boiled in 1 cup of water for 5 mins and cooled)
These ingredients can be ordered online or bought at homebrew suppliers in your area. Malt can be made at home if you wish (details below).
Steps:
- Clean and sanitize your equipment; this is vitally important. All equipment and utensils must be fully disinfected. Failure to do so diligently will result in failure, so don’t skip this step.
- Add water to mash pot and heat to 150.8°F (66°C).
- Add malt and malt crushed crystals. Stir in and leave on heat for 1.5 hours, stirring regularly and keeping the heat consistently at 150.8°F (66°C).
- Drain the mix into the fermenting vessel, through the straining bag to remove all solids. The liquid you filter out is called wort.
- Sparging: using hot (not boiling) water, pour 1.25 gallons (5 liters) through the straining bag to ensure all goodness is captured.
- Pour liquid back into the mash pot, add hops, and bring back to a boil for another 1.5 hours. (alternatively add half the hops and keep half for later inclusion for extra hoppiness.)
- Pour through the straining bag again (washed out since its last use) for extra filtration.
- Pour into the brew vessel and top off the mix with cold pure water.
- Dissolve the yeast in a cup of wort and mix well. Gently add to the brew vessel and stir until dissolved.
- Prime the airlock and attach it to the brewing vessel. Pour water in the top of the airlock to half fill it. Push the airlock securely into the bung and the bung into the mouth of the brewing vessel. If you are using a tube airlock, ensure the tube end is securely placed underwater in a jar.
- Place in an out-of-the-way area that is 65°F to 70°F on average (18°C to 21°C) to ferment for 5 to 8 days, or until the fermentation process completes (when the bubbling of the airlock stops).*
- Syphon the mix into a clean 5-gallon container, adding a cup of simple syrup.
- Bottling: Remember to sterilize all equipment that comes in contact with the brew, including the bottles. Once the beer is ready, bottle it and seal each bottle with a metal cap.
- Age your bottled beer for 7 days at room temperature to allow fermentation to reoccur and to carbonate the beer.
- Store bottles in a cool pace and chill to taste before consuming.
Enjoy in moderation and have fun!
*If the airlock becomes clogged with scum, remove and wash with water, refill with water and reseal the vessel.
*If the airlock runs dry, refill the airlock.